
How to Create a Task Grouping
To be able to carry out Checklists on the Web App, Tasks need to be set up on the Windows application.
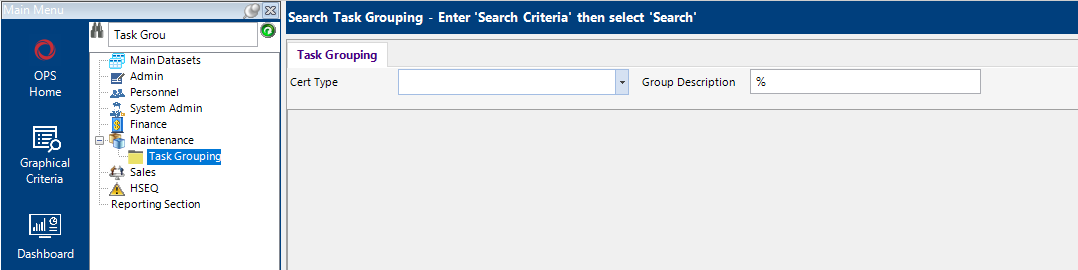
- Select the Task Grouping folder under the Maintenance category. This will open the Task Grouping search screen.
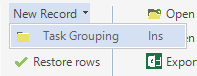
- From the toolbar, select New Record> Task Grouping or hit Insert on your keyboard.
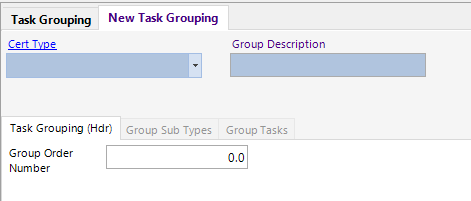
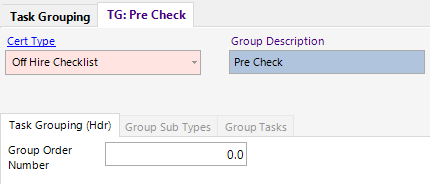
- Under the Cert Type dropdown, select either Off Hire Checklist or Pre Mob Checklist and give the group an appropriate description. A Group Order Number should also be given. This determines the order in which the groups are displayed on the Checklist screen on the Web App if a Unit has more than one group of Tasks.
Note:: If users want to create standard and Sub Type Specific Task Groupings, please see User Guide Standard vs Sub Type Specific Task Groupings.
- Select the Group Sub Types tab and press Insert on your keyboard. This will open a new Group Sub Type record. Fill in the mandatory Sub Type field.
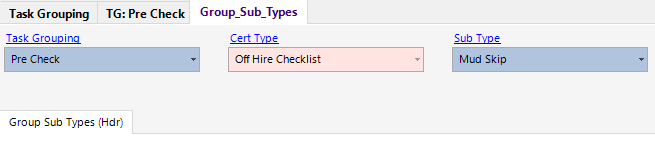
Users can select as many Sub Types as necessary for a Task Grouping. This will determine what Groups and their Tasks show on the Checklist for the Unit.
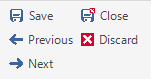
If a Task Grouping is for multiple Sub Types, select the Next button on the Toolbar to speed up the adding of the records.
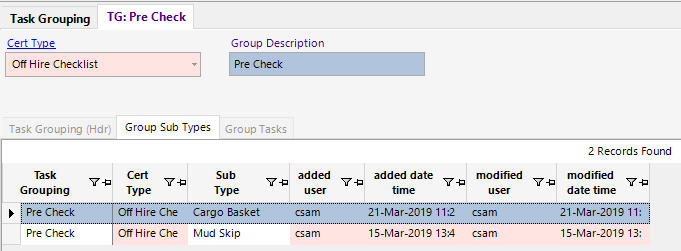
- Once all Sub Types have been entered, they can be viewed from the Group Sub Types tab.
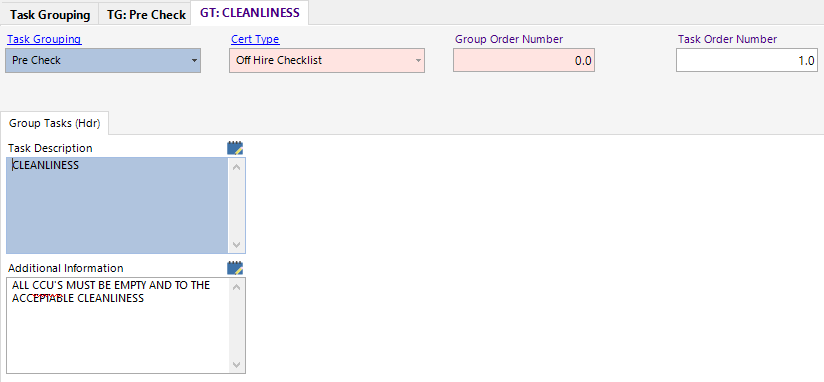
- Select the Group Tasks tab and press Insert on your keyboard. This will open a new Group Tasks record. Fill in the mandatory Task Description and Additional Information fields.
Giving the Task a Task Order Number will determine the order it is shown under the Group on the Checklist.
Select Next to create more Tasks. The Task Order Number will automatically update to the next number based on the previous number used.
- Once all Tasks have been entered, they can be viewed under the Group Tasks tab. The Sort Order Number for the Tasks can be changed at any time.
