How to Create and Complete Repair Details
If a Task has failed, users must create a Repair Details record. Notes must be entered against a failed Task explaining why it has failed.
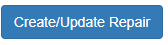
- To do this, users must select the Create/Update Repair button.
If there are no open Repair Details for the Unit Number, a new record will be created. If there is an open record and the user selects this button, any Notes that have been changed on the Checklist since the Repair Details record was originally created will be copied over.
Not all Tasks need to be checked before creating a Repair Details record. Users can either create a Repair Details record for each failed Task as they come if they require they be fixed in order to check other Tasks or if possible, they can test the entire Checklist and create one Repair Details record at the end which will hold all failed Tasks under one Repair.
- Once selected, users will be notified at the top of their screen that a Repair Details record has been added or an exsiting record has been modified.


- To complete a Repair Details record, users must log onto the Windows application. Users that are in the ‘Repairs’ role will have a dashboard button to let them know x amount of Repairs need to be carried out.
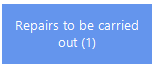
- Once selected, the system will display a list of all Repair Details without a Date Carried Out.

- A Repair Details record will show the Unit Number’s Company as the Current Company from its Asset Details record. If it does not have a Current Company, it will use the Owner Company. The Out of Service Details notes field is read only and populated with the Notes that are entered against failed Tasks on the Web App. It should clearly state what has failed.
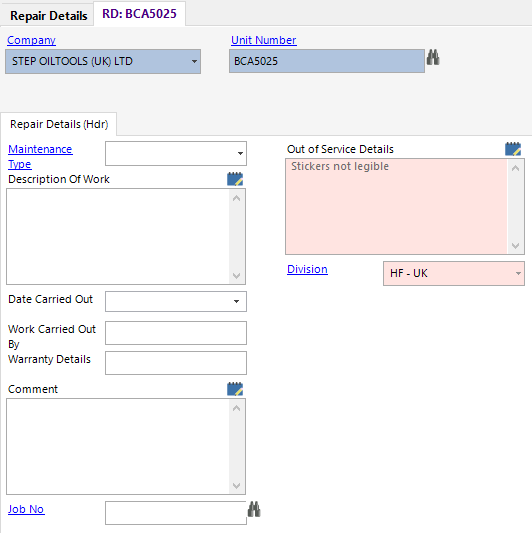
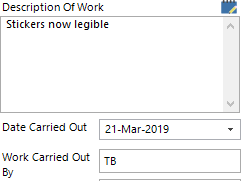
- Once the Unit has been repaired, users should select a Maintenance Type, fill in the Description of Work with details of the work they carried out and enter their name against Work Carried Out By. Users should also fill in the Date Carried Out field as if they do not, the Repair will continue to show on the dashboard.
Users can also link the Repair to a Job.